

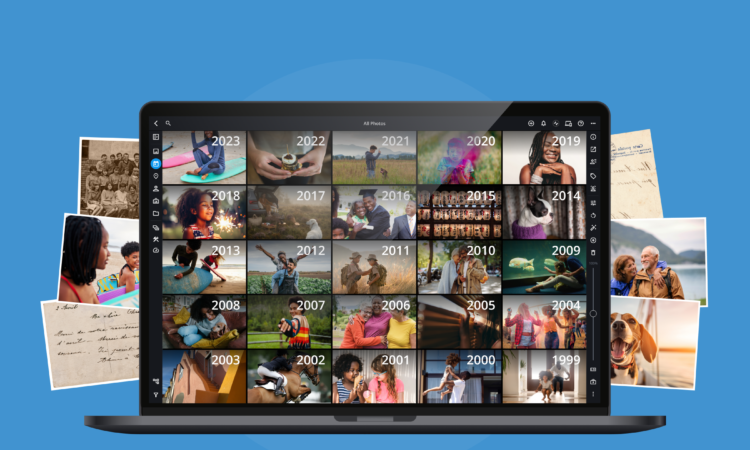
There are two main ways to organize photos on a Mac: using the built-in Photos app with albums and smart folders, or managing files manually in Finder with a folder structure by year and event. Learning how to organize photos on mac systems effectively depends on whether you want Apple to handle the metadata automatically or if you prefer full manual control over your file hierarchy.
Here’s how to do both – including how to remove duplicates and back everything up.
Method 1: Using the Mac Photos App
The Photos app is the easiest starting point for most users. It automatically imports and sorts by date, but you can go much further.
Creating Albums
- Open Photos, then go to File > New Album.
- Drag and drop photos into albums. You can add the same photo to multiple albums without duplicating the file.
- Name albums by event: ‘Thailand Trip 2024’, ‘Mom’s Birthday’, ‘Work Events’.
Using Smart Albums
- Go to File > New Smart Album.
- Set conditions – for example: ‘Date is within 2025’ or ‘Camera Model is iPhone 15’.
- Smart Albums update automatically whenever new matching photos are added.
Faces and People
- Photos uses Face ID-style recognition to group photos by person.
- Go to the People album, then name each face. Over time, Photos gets better at recognizing them.
Method 2: Organizing in Finder (Manual Folders)
If you prefer to own your files without depending on Apple’s ecosystem, this approach gives you full control.
Recommended folder structure:
| Folder Level | Example | Purpose |
| Root | /Pictures | Top-level folder for all photos |
| Year | /Pictures/2024 | Separate folders per year |
| Event / Month | /2024/July – Goa Trip | Group by event or month |
| Sub-folder (optional) | /Goa Trip/RAW | For RAW vs JPEG separation |
- Name folders consistently: use ‘YYYY-MM Description’ format (e.g., ‘2024-07 Goa Trip’).
- This keeps folders sorted chronologically without any extra sorting effort.
Photos App vs Finder: Which One Should You Use?
| Feature | Photos App | Finder (Manual) |
| Ease of use | Very easy | Requires setup |
| Automatic sorting | Yes (by date) | No |
| iCloud sync | Yes (automatic) | No (manual) |
| Sharing to iPhone | Instant | Manual transfer needed |
| Edit history | Non-destructive | Depends on software |
| Works without Apple | No | Yes – fully portable |
Tips for Naming and Tagging Photos
- Rename files with descriptive names before importing: ‘2024-07-15_Goa_Beach.jpg’ is better than ‘IMG_4832.jpg’.
- Use the Photos app’s caption and keyword feature (Get Info > Add a Caption) for searchable tags.
- Star ratings can be added by pressing 1-5 in the Photos app. Use this to mark your best shots.
How to Remove Duplicate Photos
macOS Ventura and later include a built-in Duplicates detection in the Photos app.
- Open Photos and scroll to the bottom of the left sidebar.
- Click ‘Duplicates’ – it shows all near-identical photos.
- Click ‘Merge’ to keep the highest quality version and delete the rest.
For Finder-based duplicates, apps like Gemini 2 or dupeGuru scan folders and flag identical files.
Backup Recommendations
| Backup Method | Cost | Best For |
| iCloud Photos (200GB plan) | ~$2.99/month | iPhone + Mac users who want automatic sync |
| External hard drive | One-time cost | Large libraries, offline backup |
| Google Photos (15GB free) | Free / paid tiers | Cross-platform users |
| Time Machine | Free (needs drive) | Full Mac system backup including photos |
The safest approach is the 3-2-1 rule: 3 copies, on 2 different media types, with 1 stored offsite (like cloud storage).


